
# Nginx 安装与运行
可以通过 nginx 官网下载页面 (opens new window) 进行下载,本课程使用 nginx-1.16.1 (opens new window) 这个版本
安装依赖环境
# 安装 gcc 环境
yum install gcc-c++

# 安装 PCRE 库,用于解析正则表达式
yum install -y pcre pcre-devel

# zlib 压缩和解压缩依赖
yum install -y zlib zlib-devel

# SSL 安全的加密的套接字协议层,用于 HTTP 安全传输,也就是 https
yum install -y openssl openssl-devel
1
2
3
4
5
6
7
8
9
10
11解压后,将源码进行编译后才能安装
# 解压
tar -zxvf nginx-1.16.1.tar.gz

# 创建 nginx 临时目录,否则有可能在启动 nginx 的过程中会报错
mkdir /var/temp/nginx -p

# 进入 nginx 源码目录,进行 configure,主要目的是创建 makefile 文件
# \ 表示在命令行中换行,提高可读性
cd nginx-1.16.1/
./configure	\
 --prefix=/usr/local/nginx \
 --pid-path=/var/run/nginx/nginx.pid \
 --lock-path=/var/lock/nginx.lock \
 --error-log-path=/var/log/nginx/error.log \
 --http-log-path=/var/log/nginx/access.log \
 --with-http_gzip_static_module \
 --http-client-body-temp-path=/var/temp/nginx/client \
 --http-proxy-temp-path=/var/temp/nginx/proxy \
 --http-fastcgi-temp-path=/var/temp/nginx/fastcgi \
 --http-uwsgi-temp-path=/var/temp/nginx/uwsgi \
 --http-scgi-temp-path=/var/temp/nginx/scgi
1
2
3
4
5
6
7
8
9
10
11
12
13
14
15
16
17
18
19
20
21配置命令的含义如下
令 解释 –prefix 指定 nginx 安装目录 –pid-path 指向 nginx 的 pid –lock-path 锁定安装文件,防止被恶意篡改或误操作 –error-log 错误日志 –http-log-path http 日志 –with-http_gzip_static_module 启用 gzip 模块,在线实时压缩输出数据流 –http-client-body-temp-path 设定客户端请求的临时目录 –http-proxy-temp-path 设定 http 代理临时目录 –http-fastcgi-temp-path 设定 fastcg i临时目录 –http-uwsgi-temp-path 设定 uwsgi 临时目录 –http-scgi-temp-path 设定 scgi 临时目录 编译并安装
make && make install1启动、重新加载、停止 nginx
cd /usr/local/nginx/sbin/

# 启动
./nginx

# 停止
./ nginx -s stop

# 重新加载配置文件
./nginx -s reload

# 检测配置文件是否有错误
./nginx -t
1
2
3
4
5
6
7
8
9
10
11
12
13如果提示 80 端口被占用
# 查看 80 端口是否被占用
netstat -nat |grep ':80'
tcp6       0      0 :::80                   :::*                    LISTEN

# 查看是那个进程占用
[root@study sbin]# netstat -pan | grep ':80'
tcp6       0      0 :::80                   :::*                    LISTEN      1392/httpd

# 可以看到是 1392 httpd 服务占用了,kill 掉它
kill 1392
1
2
3
4
5
6
7
8
9
10
访问 http://192.168.56.105/ 查看是否有 Welcome to nginx! 字样的页面,
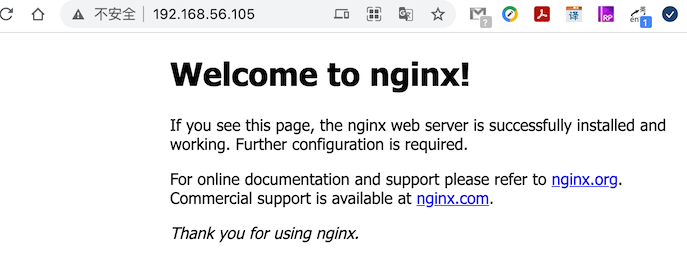
注意:如果访问不到,请检查端口是否有暴露出来
该页面的内容在 /usr/local/nginx/html/index.html 中,你可以尝试修改下该文件内容,再次访问看看内容是否有改变